


The Small But Mighty World of Earring Backs
Understanding the types of earring backs and how to remove them safely can save you from a painful tug, a lost earring, or a damaged piercing. Here's a quick reference:
| Earring Back Type | How to Remove |
|---|---|
| Push/Butterfly Back | Grip wings, pull straight off the post — no twisting |
| Screw Back | Twist counterclockwise slowly until it slides free |
| La Pousette/Locking Back | Squeeze the side tabs, then pull straight off |
| Flat Back (Labret) | Hold the flat disc, unscrew the front top counterclockwise |
| Lever Back | Press the hinged arm down to open, then slide the wire out |
| Latch Back (Hoop) | Release the small latch clasp, then swing open |
| Omega/French Clip | Press the clip tab to release, then lift away |
The back of your earring rarely gets a second thought — until it's stuck, poking you in the neck at 2am, or nowhere to be found on the bathroom floor. Yet that tiny piece of metal is doing all the heavy lifting: keeping your jewelry secure, protecting your piercing, and determining how comfortable you'll feel after eight hours of wear.
Different backings have different removal mechanics. Pulling too hard on the wrong type can bend a post, strip a thread, or irritate a healing piercing. Knowing what you're working with before you tug makes all the difference.
At Inglis Jewellers, we've helped customers across Atlantic Canada care for their fine jewelry for generations — and we're here to walk you through everything you need to know.
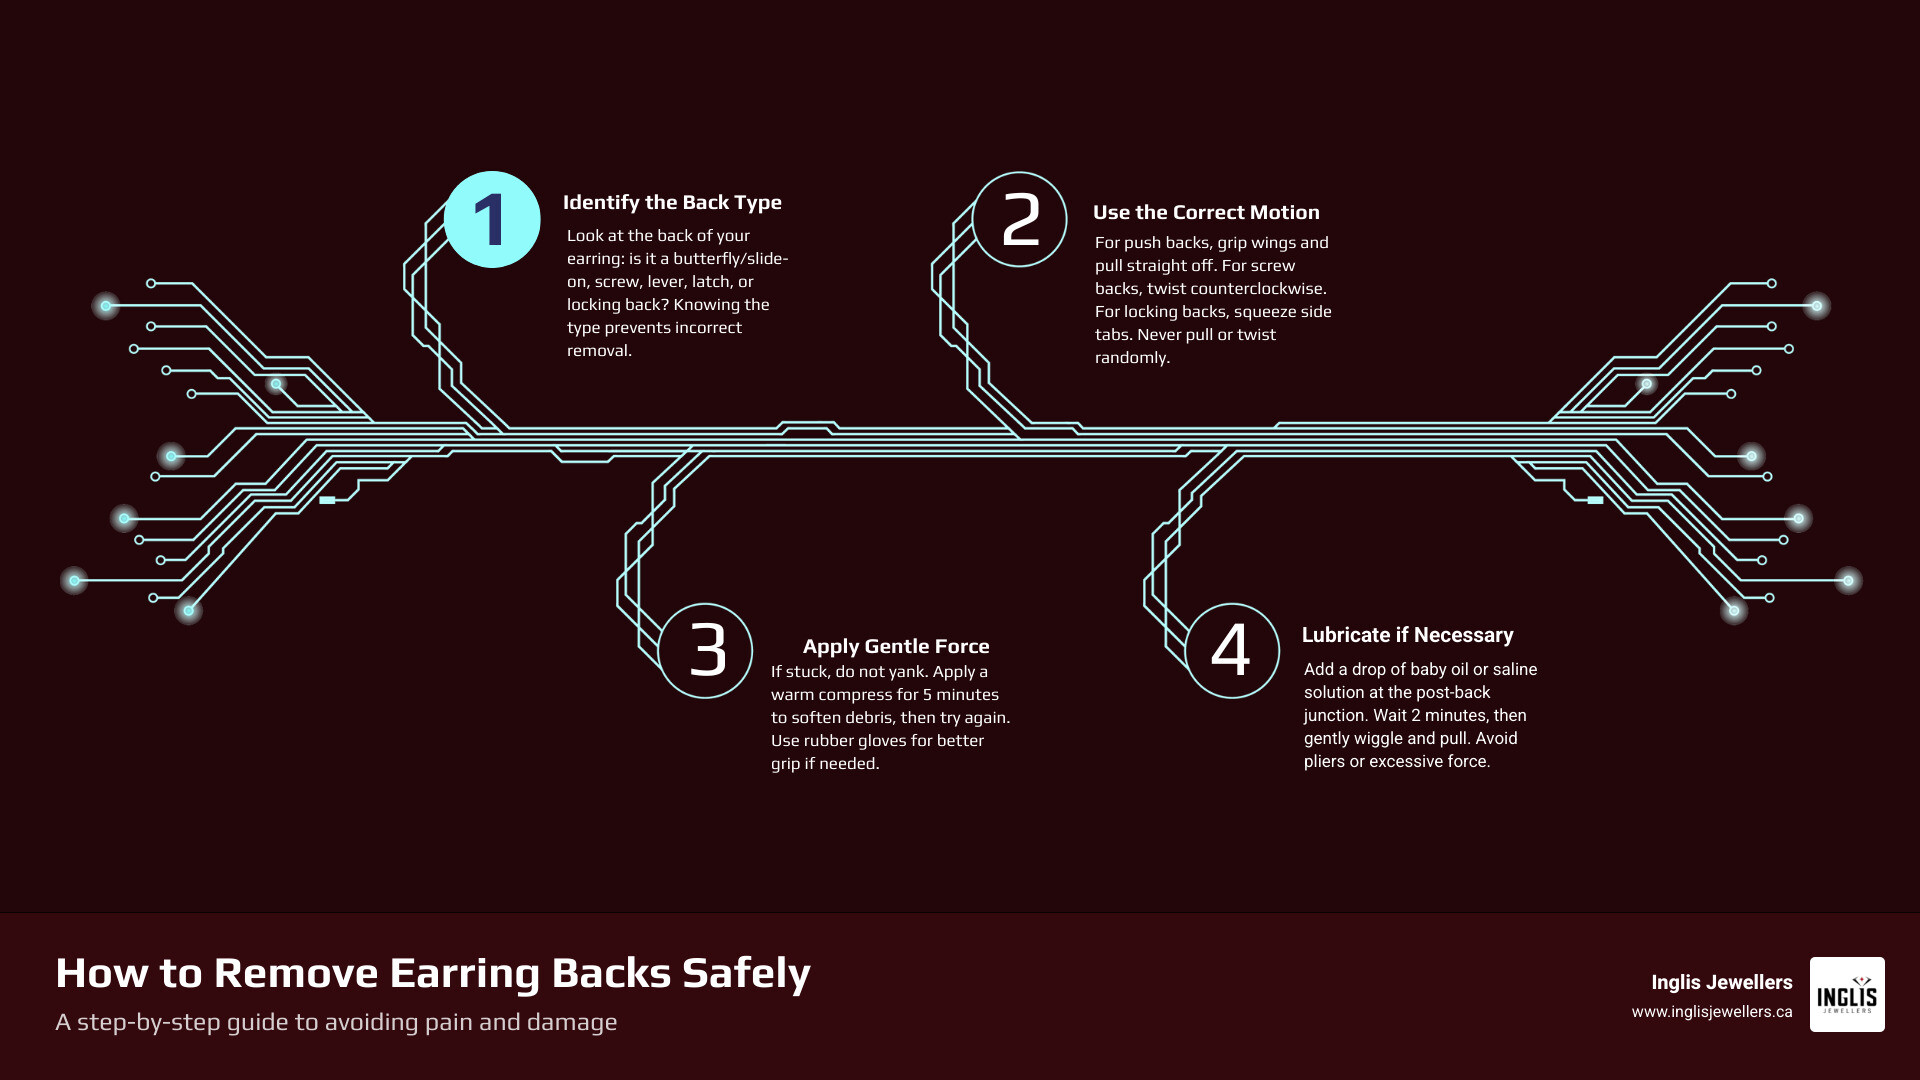
The Ultimate Directory: Types of Earring Backs and How to Remove Them
When you purchase a new pair of earrings, the backing style determines how secure your "ear candy" will remain during a busy day. Different designs serve different functions, balancing ease of use with maximum security. If you are trying to navigate the wide array of options, a comprehensive directory is the best place to start. For a deeper look at the variety available in the fashion world, you can explore this detailed Types of Earring Backs: A Guide to the Most Common Styles .
To help you understand your collection, we have broken down the primary types of earring backs and how to remove them safely. Whether you are dealing with classic studs or integrated hoops, each closure style has its own mechanical rules.
Friction and Butterfly Backs: Common Types of Earring Backs and How to Remove Them
Also known as friction backs, push backs, or scroll backs, butterfly backs are the most common style found on stud earrings. They consist of a small metal disc with two curled wire loops (resembling butterfly wings) that slide onto a straight, notched post. The tension of these metal "wings" grips the post to keep the earring in place.
However, these curled wings are notorious for accumulating "ear gunk"—a mixture of dead skin cells, hairspray, makeup, sweat, and natural oils (sebum). Over time, this biological buildup acts like cement, gluing the backing to the post. Additionally, friction backs rely entirely on physical tension, which naturally loosens over months of continuous wear.
To safely remove a butterfly back:
- Wash your hands thoroughly with antibacterial soap.
- Grip the decorative front of the earring firmly with one hand to stabilize the post.
- Pinch the two small metal wings of the backing between your thumb and index finger of your other hand.
- Pull the backing straight off the post in a steady, linear motion. Do not twist the backing as you pull, as twisting can easily bend or snap the delicate metal post.
Threaded Screw Backs: Secure Types of Earring Backs and How to Remove Them
Screw backs feature a threaded post that requires the backing to be physically screwed on, much like a tiny nut on a bolt. They are highly favored for children's jewelry and expensive diamond studs because they are virtually toddler-proof and highly secure.
The main challenge with screw backs is "galling." This occurs when friction causes the microscopic metal grooves of the post and the backing to bond or lock together, particularly if they are cross-threaded or if debris gets trapped in the threads.
To remove a screw back:
- Hold the front of the earring absolutely still to prevent it from rotating against your sensitive earlobe.
- Grip the small screw backing and turn it counterclockwise (the classic "lefty-loosey" rule).
- Spin the backing slowly and evenly. If it feels stiff, do not force it, as you can strip the delicate threads.
- Continue spinning until the backing completely disengages from the threaded post. It is always wise to perform this over a soft towel so the tiny backing doesn't drop and bounce down the drain.
Locking and La Pousette Backs for High-Value Jewelry
La Pousette backs (often called Guardian or locking backs) represent the premium tier of jewelry security. These backings feature a internal spring-loaded lock mechanism that grips a specially grooved post.
To operate a La Pousette back, you must squeeze two tiny tabs on either side of the disc. Squeezing these tabs opens the internal clutch, allowing the backing to slide smoothly onto the post. When you release the tabs, the spring-loaded lock snaps shut into the post's safety groove.
To remove a locking back:
- Practice the mechanism off your ear first if you are unfamiliar with it.
- Reach behind your ear and firmly pinch both side tabs simultaneously using your thumb and index finger.
- While keeping the tabs fully compressed, slide the backing straight off the post.
- If you do not squeeze the tabs completely, the safety lock will engage with the end notch of the post, preventing it from sliding off. Never yank a locking back without fully compressing the tabs!
Flat Backs and Bell Backs for Comfort and Healing Piercings
Flat back earrings (also known as labret-style posts) are the gold standard for cartilage piercings (such as the helix, conch, and tragus) and are highly recommended for overnight wear. Instead of a post that pushes through from the front, a flat back consists of a smooth, flat disc attached to a hollow post that inserts from the back of the ear. The decorative top then presses or screws into the hollow tube from the front.
Because the back of the earring is completely flat, it won't poke into your neck while you sleep, talk on the phone, or wear headphones. Similarly, bell backs feature a dome-shaped, closed-back design that completely encases the sharp tip of the earring post, making them excellent for children.
To remove a flat back earring:
- Hold the flat disc firmly against the back of your ear with one hand.
- With your other hand, grip the decorative front stud.
- If it is a threaded system, unscrew the front piece counterclockwise. If it is a threadless (push-pin) system, pull the front piece straight out of the post with a firm, steady motion.
Integrated Closures: Lever Backs, Latch Backs, and Omega Clips
Integrated closures do not use separate, removable backings. Instead, the fastening mechanism is built directly into the earring itself, which eliminates the risk of losing a tiny separate piece.
- Lever Backs (Continental Fittings): These feature a curved wire that goes through the ear, secured by a hinged lever that flips up to close the loop. To remove, simply press the lever down to release the hinge and gently slide the wire out of your piercing.
- Latch Backs (Saddle Backs): Common on hoop earrings, these feature a hinged post that clicks into a small V-shaped latch on the opposite side of the hoop. To remove, gently lift the post out of the latch clasp.
- Omega Backs (French Clips): Shaped like the Greek letter $\Omega$, these utilize a hinged loop that flips up over a straight post to press the earlobe gently against the front of the earring. They provide a luxurious look and excellent weight distribution for heavy statement earrings. To remove, simply pull the hinged loop backward to release the pressure and slide the stud out.
For a comprehensive breakdown of these mechanical styles, you can read the Types of Earring Backs Explained \| Pros & Cons Guide .
How to Choose the Right Earring Back for Your Lifestyle and Ear Health
Selecting the right earring backing is about more than just security; it directly impacts your physical comfort and skin health. If you find yourself struggling to manage your jewelry or constantly losing pieces, it might be time to evaluate your options. To compare styles further, check out the Types of Earring Backs and How to Remove: Complete Guide .
Matching Backings to Earring Weight and Value
The physical weight of your jewelry should dictate the type of backing you use. Have you ever noticed a beautiful pair of heavy studs tilting forward on your earlobes? This is known in the jewelry world as the "dreaded droop."
- For Studs Under 1 Gram: Standard butterfly backs or silicone backs work perfectly.
- For Heavy Studs (Over 3 Grams) or Large Diamonds: Standard backings are too small to distribute the weight. For studs larger than 2 carats per stone, we highly recommend using 8mm+ push backings, monster backs, or comfort clutch ear nuts (which feature a wide plastic stabilizer disc). These wider backings sit flat against the back of your lobe, spreading the physical weight evenly and keeping your earrings upright.
- For High-Value Fine Jewelry: Always opt for threaded screw backs or La Pousette locking backs. The peace of mind they provide is worth the extra effort required to put them on.
Hypoallergenic Materials for Sensitive Ears
If your ears itch, turn red, or weep after a few hours of wearing earrings, you are likely experiencing allergic contact dermatitis. This is commonly triggered by nickel, a cheap trace metal used in many plating processes and low-grade sterling silver.
For sensitive skin, the material of your backing is just as important as the earring itself. Look for biocompatible materials:
- Titanium: Highly recommended by professional piercers because it is completely nickel-free, lightweight, and non-reactive.
- Solid 14K or 18K Gold: A classic, reliable option (ensure it is solid gold, not gold-plated, which can wear down).
- Platinum: Extremely durable and naturally hypoallergenic.
- Medical-Grade Silicone: A soft, comfortable, and inexpensive alternative for casual daily wear.
To find out more about selecting the right backing for your specific needs, you can review this guide on Common Types of Earring Backs (How to Choose the Right One) – Grace Studio .
Troubleshooting: What to Do When an Earring Back is Stuck
It usually happens in a moment of rush: you go to take your earrings off, and the backing refuses to budge. Panic sets in, you pull harder, your earlobe swells, and suddenly the earring feels like it is permanently attached to your body.
Understanding why earrings get stuck is the first step to a pain-free removal. Most of the time, it is caused by a build-up of dried sebum and dead skin cells—what we call "biological cement"—or minor swelling that compresses the jewelry.
Step-by-Step Safe Removal Techniques for Stubborn Backs
Before you grab a pair of household pliers (which can easily lacerate your skin or crush your jewelry), try these gentle, step-by-step home remedies.
- Sanitize and Prepare: Wash your hands with antibacterial soap for at least 20 seconds. Clean the stuck backing with a gentle saline solution to soften any crusty biological buildup.
- Apply a Warm Compress: Hold a clean, warm, damp cloth against your earlobe for 3 to 5 minutes. The localized heat will help relax the metal, reduce minor swelling, and soften dried sebum.
- Use a Low-Viscosity Lubricant: Apply a drop of baby oil, coconut oil, or olive oil directly to the post and backing. Let it sit for 5 minutes. Unlike thick petroleum jelly, light oils travel via capillary action directly into jammed threads or tight friction wings.
- Improve Your Grip with Rubber Gloves: Put on a pair of clean rubber dishwashing gloves or latex gloves. The rubber provides incredible mechanical traction, preventing your fingers from slipping off the tiny metal parts.
- The Dental Floss Trick (For Hoops and Clasps): If a latch back or hoop is stuck shut, thread a loop of clean dental floss through the hoop. Gently pull the floss in the opposite direction of the latch to provide safe, even leverage to release the clasp tension.
For more expert advice on dealing with stubborn jewelry, you can read How Do I Remove Earrings That Are Stuck? 8 Pain-Free Expert Tips – DG Jewelry .
Cleaning and Maintenance to Prevent Stuck Backs
The easiest way to deal with a stuck earring is to prevent it from happening in the first place.
- Weekly Cleaning: Remove your daily earrings at least once a week. Soak the earrings and backings in isopropyl alcohol or hydrogen peroxide for 5 to 10 minutes to dissolve oils and eliminate bacteria. (Note: Avoid soaking organic gemstones like pearls or opals in alcohol).
- Adjust Tension: If your butterfly backs feel loose, you can gently tighten them at home. Use a pair of fine-nosed pliers to very carefully squeeze the two curled scrolls closer together.
- Know the Replacement Cycle: Traditional butterfly backs should be replaced every 6 to 12 months as the metal naturally fatigues. Silicone or rubber backs should be replaced every 2 to 3 months because the porous material can harbor bacteria over time.
If your favorite earrings have suffered from bent posts or damaged backings due to a stubborn removal attempt, we can help restore them. Learn more about our specialized Custom Design Jewelry Near Me services.
When to Seek Professional Help
While home remedies work for most stuck backings, you must know when to stop. If your earlobe is bleeding, severely swollen, hot to the touch, or oozing yellow or green discharge, do not continue trying to remove the earring yourself.
Furthermore, if the backing has become partially or fully "embedded" (where the skin of your earlobe has begun to grow over the metal), seek immediate medical attention. For physical mechanical failures—such as a bent post or a seized screw thread—visit a professional jeweler.
If you need professional assistance to safely remove an earring or repair damaged hardware, our skilled team is ready to help. Discover our local Fine Jewelry Repair Near Me services across Nova Scotia and New Brunswick.
For a deeper dive into modern piercing care and professional guidance on choosing the safest backings, check out Types of Earring Backs: Complete Guide to Choosing the Right Closure .
Frequently Asked Questions about Earring Backs
Can I use the same backing for all my earrings?
While you can often swap simple push backs or silicone stoppers between different stud earrings, it is not always recommended. Earring posts come in varying thicknesses (gauges), and screw backs are only compatible with threaded posts that share the exact same thread pattern. Additionally, heavy statement earrings require wider, supportive backings (like monster backs or comfort clutches) to prevent them from drooping forward, whereas lightweight studs can easily use standard butterfly backs.
How often should I replace my earring backs?
To maintain optimal hygiene and security, you should replace silicone and rubber backings every 2 to 3 months, as they are highly porous and trap bacteria. Traditional metal butterfly backs should be inspected regularly and replaced every 6 to 12 months, as the metal scrolls naturally lose their spring tension over time and can easily slip off without you noticing.
Are screw backs safer than push backs for children?
Yes, screw backs are generally considered the safest option for infants, toddlers, and young children. Because they must be threaded on and off, they are highly resistant to being pulled off by curious little hands, which significantly reduces the risk of lost jewelry and choking hazards. However, because they are worn continuously, they require regular cleaning to prevent biological buildup.
Conclusion
Earring backs may be small, but they play a massive role in protecting your precious jewelry investments and keeping your ears comfortable. By understanding the different types of earring backs and how to remove them, you can prevent unnecessary pain, avoid damaging your favorite pieces, and wear your collection with complete confidence.
If you are dealing with a damaged earring post, a worn-out backing, or want to upgrade your current studs to high-security La Pousette locks, our master goldsmiths are here to assist. At Inglis Jewellers, we provide trusted craftsmanship and full-service jewelry care across our convenient Atlantic Canada locations, including Truro, New Glasgow, Sydney, and Riverview.
Let us help you keep your jewelry safe, secure, and beautiful. For comprehensive details on our restoration and maintenance services, read our Jewellery Repairs Complete Guide or visit one of our local showrooms today! If you are looking for premier local support, we also invite you to explore our specialized services at our Jewelry Store St Johns Nl or find a nearby location for expert Jewelry Appraisal Stores.